Monday, 6 October 2014
Welcome to Mac Mondays! Each Monday,We'll talk performance upgrades (for old and new models), hardware
hacks, and workflow tips. This is where you'll go to find out how to
release your Mac's potential and make the most of your purchase.
Plus, we want your very best tips and ideas. When inspiration hits, email me and we'll consider your thoughts for reader roundups.
 Until about three weeks ago, my 2009 MacBook Pro was useless. Programs
took ages to load, saving a file would result in the rolling ball of
death, and starting up my laptop could take minutes.
Until about three weeks ago, my 2009 MacBook Pro was useless. Programs
took ages to load, saving a file would result in the rolling ball of
death, and starting up my laptop could take minutes.
I did everything -- cleared out nearly 50 percent of my storage, used "clean-up" apps from the App Store, and even upgraded my RAM. Even after all that hauling, loading pages in Firefox or opening a photo in preview would be a two-minute affair.
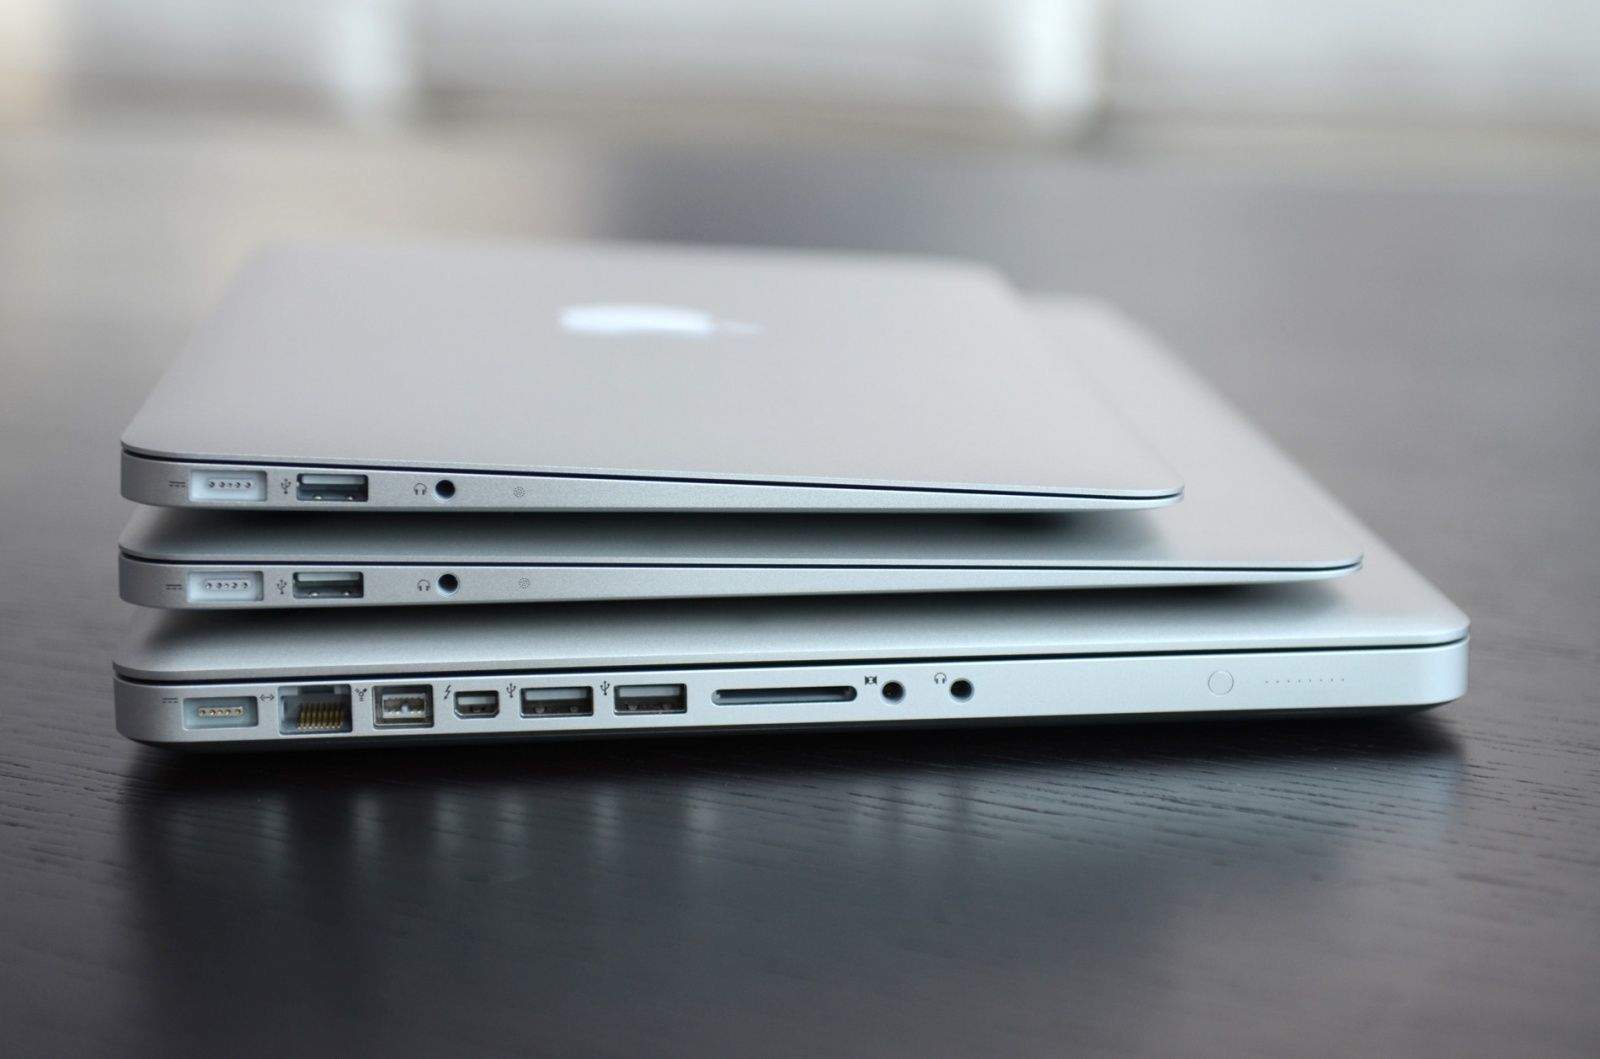
That's when I realized there was only one more thing to do: get rid of my hard drive. Besides the one entry-level MBP model, all MBPs sold today are stocked with flash storage.
Flash storage, which comes in the form of Solid State Drives
(SSDs), are unbelievably faster than hard disk storage. They're also
more energy efficient, reliable, and quieter than hard drives. CNET
editor Dong Ngo has a very useful guide about why SSDs are better performers, and why they're worth the price.
SSDs are definitely more expensive than hard drives -- about three
times more on average. Still, it's a worthwhile expense if you want to
bring an older Mac back to life and avoid buying a new computer.
Best of all, the installation process is really simple. Here's how I upgraded my 2009 MacBook Pro to an SSD and made it feel brand new. Any MacBook Pro from 2012 and earlier can be upgraded as well. (Newer models have the hard drive soldered in and can not be modded.)
You'll need:
Launch SuperDuper, and set it to clone your Mac's hard drive to the SSD. If you gave it a new name in Disk Utility, it'll show up as such. Then choose Backup All Files, and click Copy Now.
This could take anywhere from 30 minutes to 3 hours depending on how much you have stored on your hard drive. When the process is complete, eject the SSD and shut down your computer.
Begin by removing your MacBook's back cover. There are 10 screws in total, including three longer ones. Put them in a small container as you remove them.
When the cover comes off, touch a metal part to release the static electricity. At this point, you might want to clean the inside of your Mac. I found that after years without cleaning, mine was full of dust. Use a soft brush or gentle bursts of compressed air to release the dust and grime.
To remove the hard drive, use the regular screwdriver to unscrew the two black screws belonging to the bracket securing the hard drive. Remove the bracket and set it aside.
Gently lift the hard drive. You'll see that a ribbon is attached to one end. Carefully wiggle the connector -- not the ribbon itself -- to disconnect it.
Remove the four torx screws attached to the hard drive and set aside. At this point, you can store your hard drive away or convert it to an external hard drive. You're done with it.
Re-attach the bracket. And finally, replace the back cover using the 10 screws.
If you made it this far without fumbling, congratulations! That was probably easier than you were expecting.
Now turn on your computer. It may take a couple of extra seconds as it gets acquainted with the new drive, but generally speaking, starting up your computer will be much faster than the past. You'll also notice that programs launch faster, saving files takes less time, and it feels less sluggish overall.
Plus, we want your very best tips and ideas. When inspiration hits, email me and we'll consider your thoughts for reader roundups.
 Until about three weeks ago, my 2009 MacBook Pro was useless. Programs
took ages to load, saving a file would result in the rolling ball of
death, and starting up my laptop could take minutes.
Until about three weeks ago, my 2009 MacBook Pro was useless. Programs
took ages to load, saving a file would result in the rolling ball of
death, and starting up my laptop could take minutes.I did everything -- cleared out nearly 50 percent of my storage, used "clean-up" apps from the App Store, and even upgraded my RAM. Even after all that hauling, loading pages in Firefox or opening a photo in preview would be a two-minute affair.
That's when I realized there was only one more thing to do: get rid of my hard drive. Besides the one entry-level MBP model, all MBPs sold today are stocked with flash storage.
Best of all, the installation process is really simple. Here's how I upgraded my 2009 MacBook Pro to an SSD and made it feel brand new. Any MacBook Pro from 2012 and earlier can be upgraded as well. (Newer models have the hard drive soldered in and can not be modded.)
- An SSD (I used last year's version of the Samsung 840 Evo)
- SATA-to-USB cable or dock
- Small screwdriver to open your laptop
- Torx head screwdriver for disassembling the hard drive
- SuperDuper (download it here)
Step 1: Prep the SSD
Start by connecting the SSD to your computer with a dock or cable. Once it's connected, launch Disk Utility (searchable through Spotlight), and select your drive from the left sidebar. Then, head to the Erase tab, and click Erase. No need to change any settings, unless you'd like to give it a new name. This will format the drive and prep it for the next step.Launch SuperDuper, and set it to clone your Mac's hard drive to the SSD. If you gave it a new name in Disk Utility, it'll show up as such. Then choose Backup All Files, and click Copy Now.
This could take anywhere from 30 minutes to 3 hours depending on how much you have stored on your hard drive. When the process is complete, eject the SSD and shut down your computer.
Step 2: Remove the hard drive
In case you missed it in the previous step, shut down your computer.Begin by removing your MacBook's back cover. There are 10 screws in total, including three longer ones. Put them in a small container as you remove them.
When the cover comes off, touch a metal part to release the static electricity. At this point, you might want to clean the inside of your Mac. I found that after years without cleaning, mine was full of dust. Use a soft brush or gentle bursts of compressed air to release the dust and grime.
To remove the hard drive, use the regular screwdriver to unscrew the two black screws belonging to the bracket securing the hard drive. Remove the bracket and set it aside.
Gently lift the hard drive. You'll see that a ribbon is attached to one end. Carefully wiggle the connector -- not the ribbon itself -- to disconnect it.
Remove the four torx screws attached to the hard drive and set aside. At this point, you can store your hard drive away or convert it to an external hard drive. You're done with it.
Step 3: Install the SSD
Grab the SSD and screw in the four torx screws you removed from the hard drive. Then, carefully attach the ribbon to the SSD, and insert the drive in the same configuration as the previous drive.Re-attach the bracket. And finally, replace the back cover using the 10 screws.
If you made it this far without fumbling, congratulations! That was probably easier than you were expecting.
Now turn on your computer. It may take a couple of extra seconds as it gets acquainted with the new drive, but generally speaking, starting up your computer will be much faster than the past. You'll also notice that programs launch faster, saving files takes less time, and it feels less sluggish overall.
Subscribe to:
Post Comments
(
Atom
)


0 comments :
Post a Comment